
 Preview · free
 All guides
Sizes — one design, every size
For anyone with a finished design who needs it as a post, a card, a poster or a whole kit.
Open Sizes- 1Pick the design
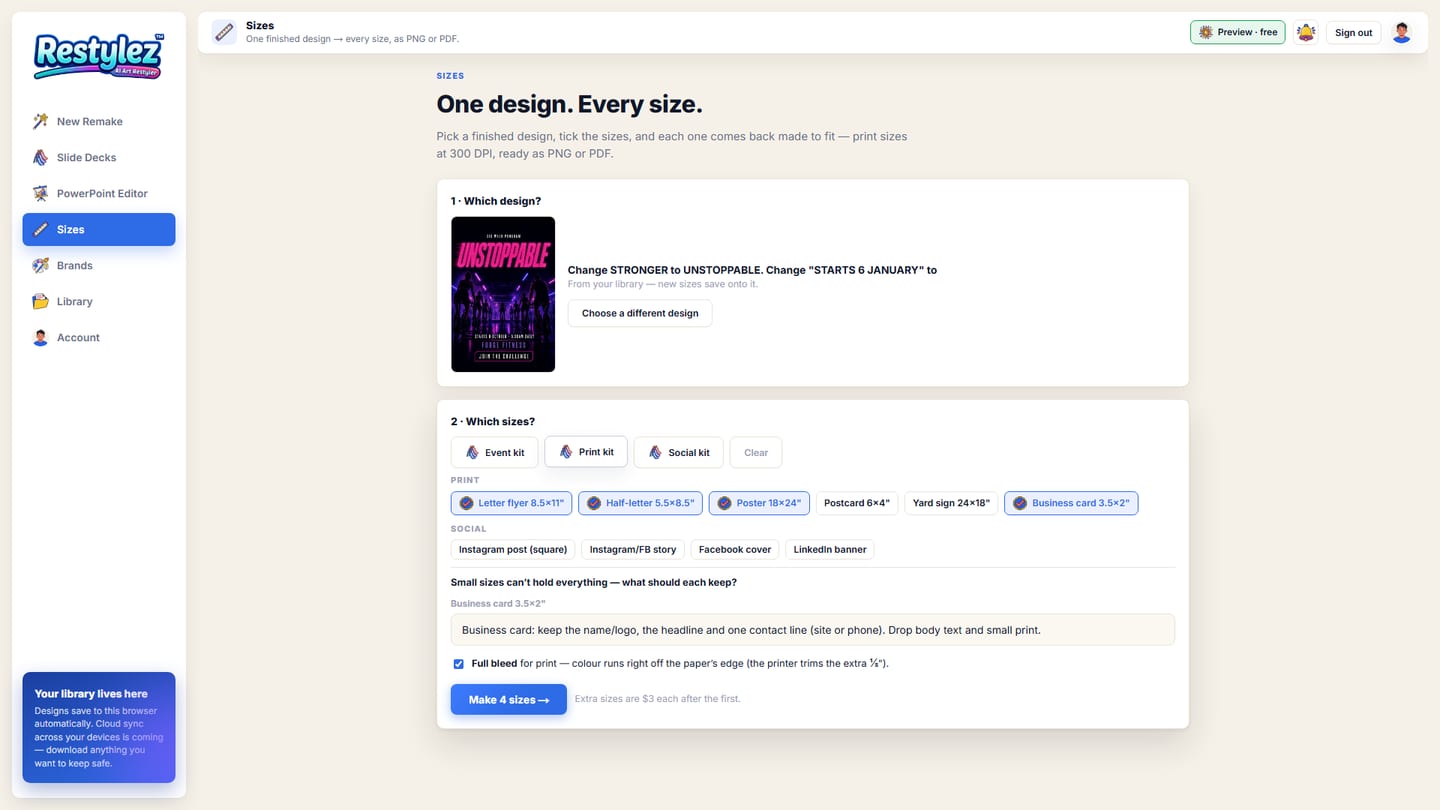
Upload a finished design, or click one you made in the strip from your Library. From the Library, new sizes save back onto that design; an upload becomes a new Library entry.
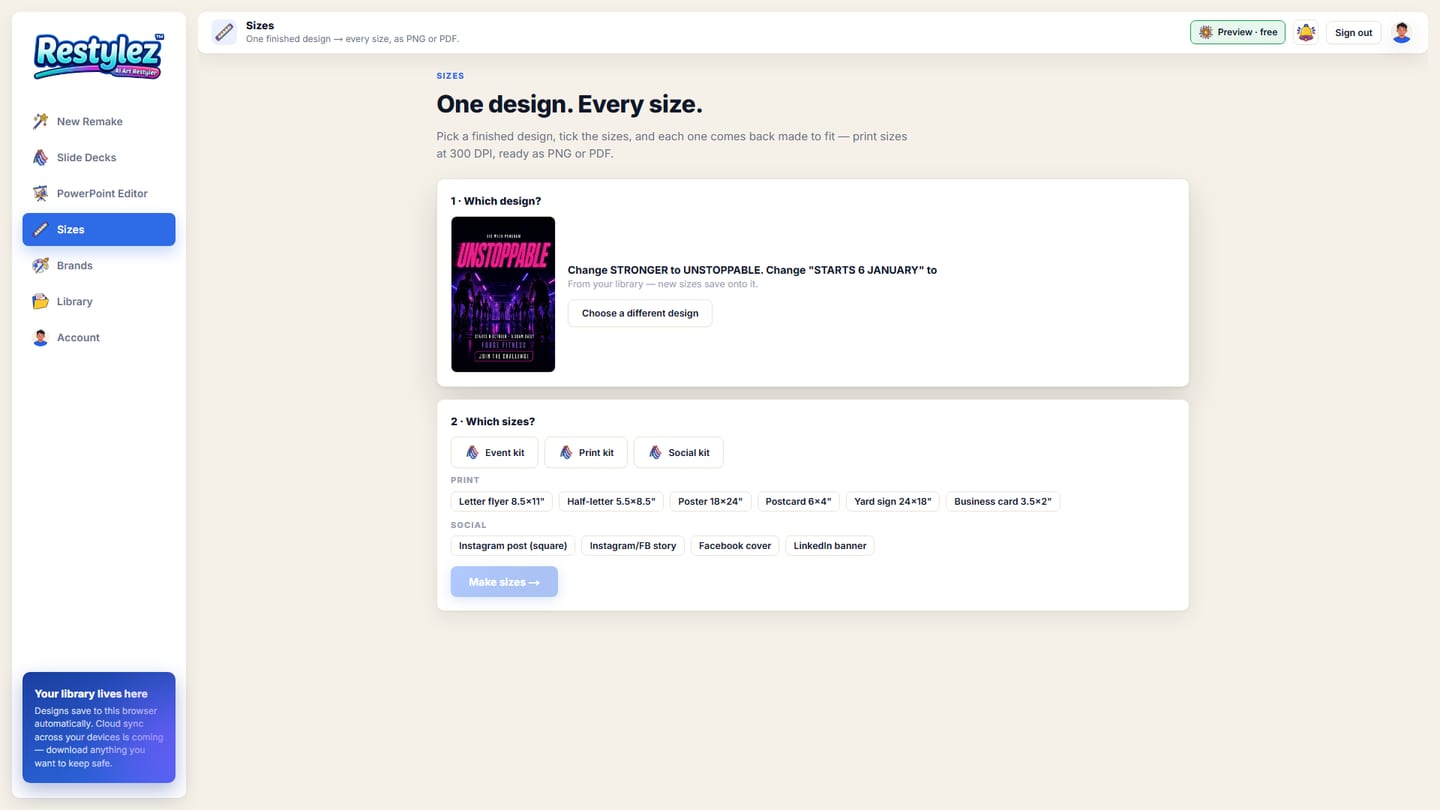
The whole screen · click to open full size 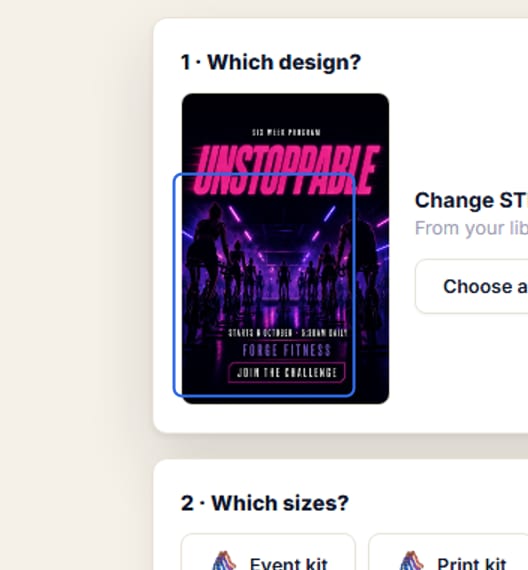
Close-up — the part to look at - 2Tick the sizes, or press a kit
Sizes are grouped: print, social posts, ads, banners and headers. The kits (Event, Print, Social, Ads, Banners) tick a ready set in one click. Clear starts over.
The whole screen · click to open full size 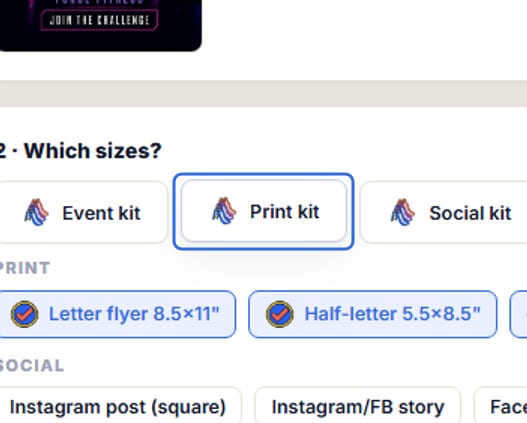
Close-up — the part to look at - 3Tell small sizes what to keep
A business card or a post can’t hold a whole flyer. Each small size gets a note — keep the headline, the main picture and one call to action — which you can change. Print sizes have a “Full bleed” tick so colour runs right off the paper’s edge.
The whole screen · click to open full size - 4Press “Make N sizes”
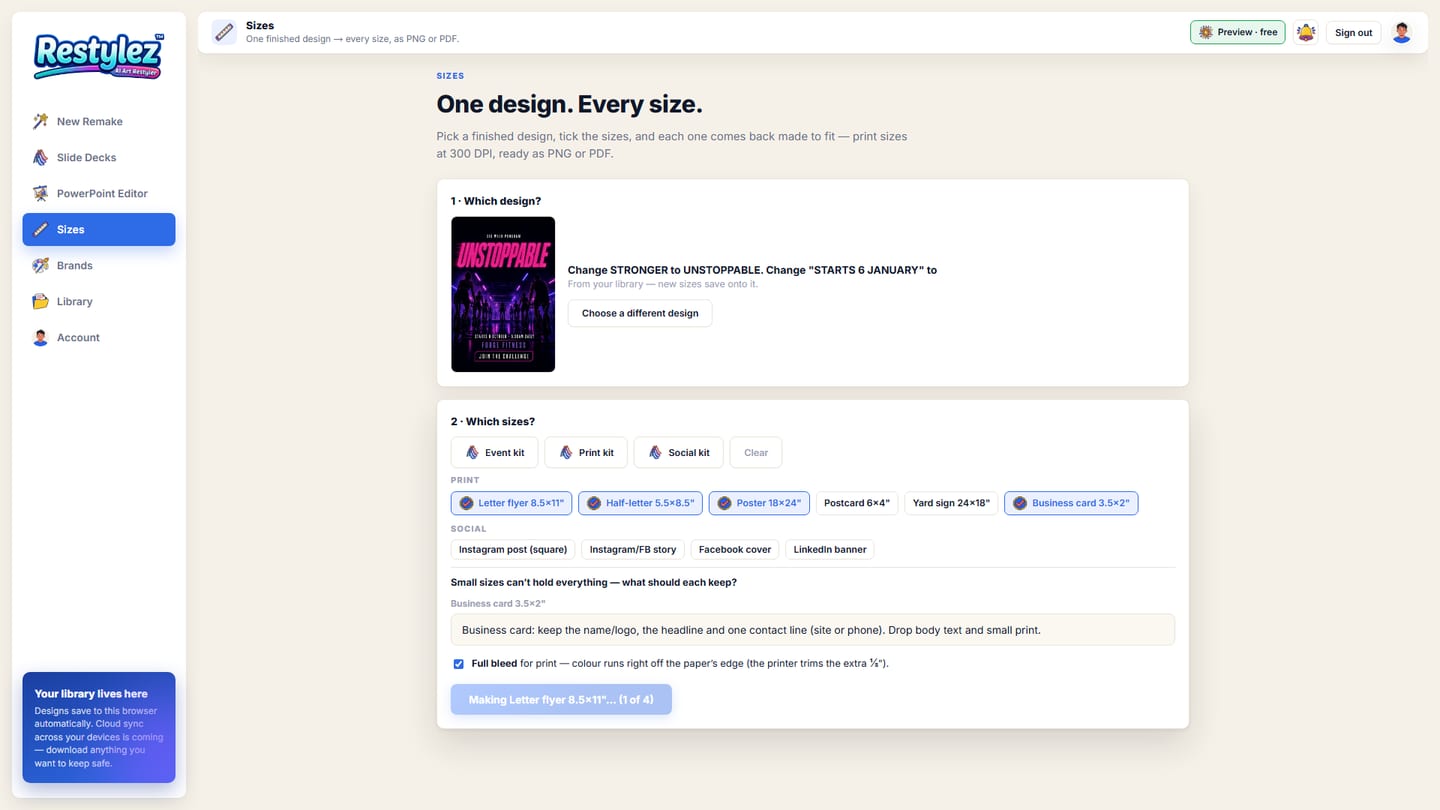
The button counts what you ticked. Sizes are made one at a time, one to three minutes each, and the button shows which one it’s on.
The whole screen · click to open full size 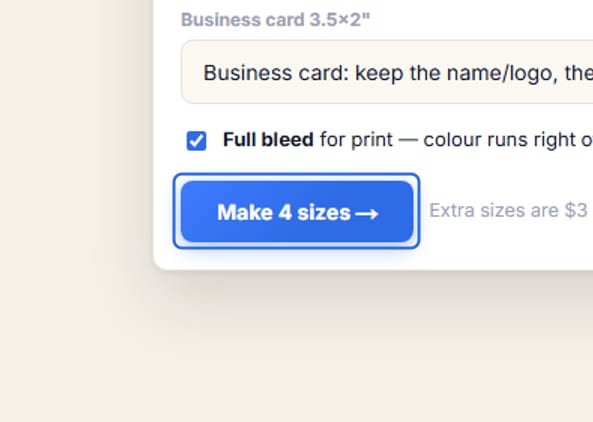
Close-up — the part to look at - 5Download PNG or PDF
Each size appears as a card with its pixel size and, for print sizes, “300 DPI · print-ready”. PNG is for screens; PDF is the file your printer wants.
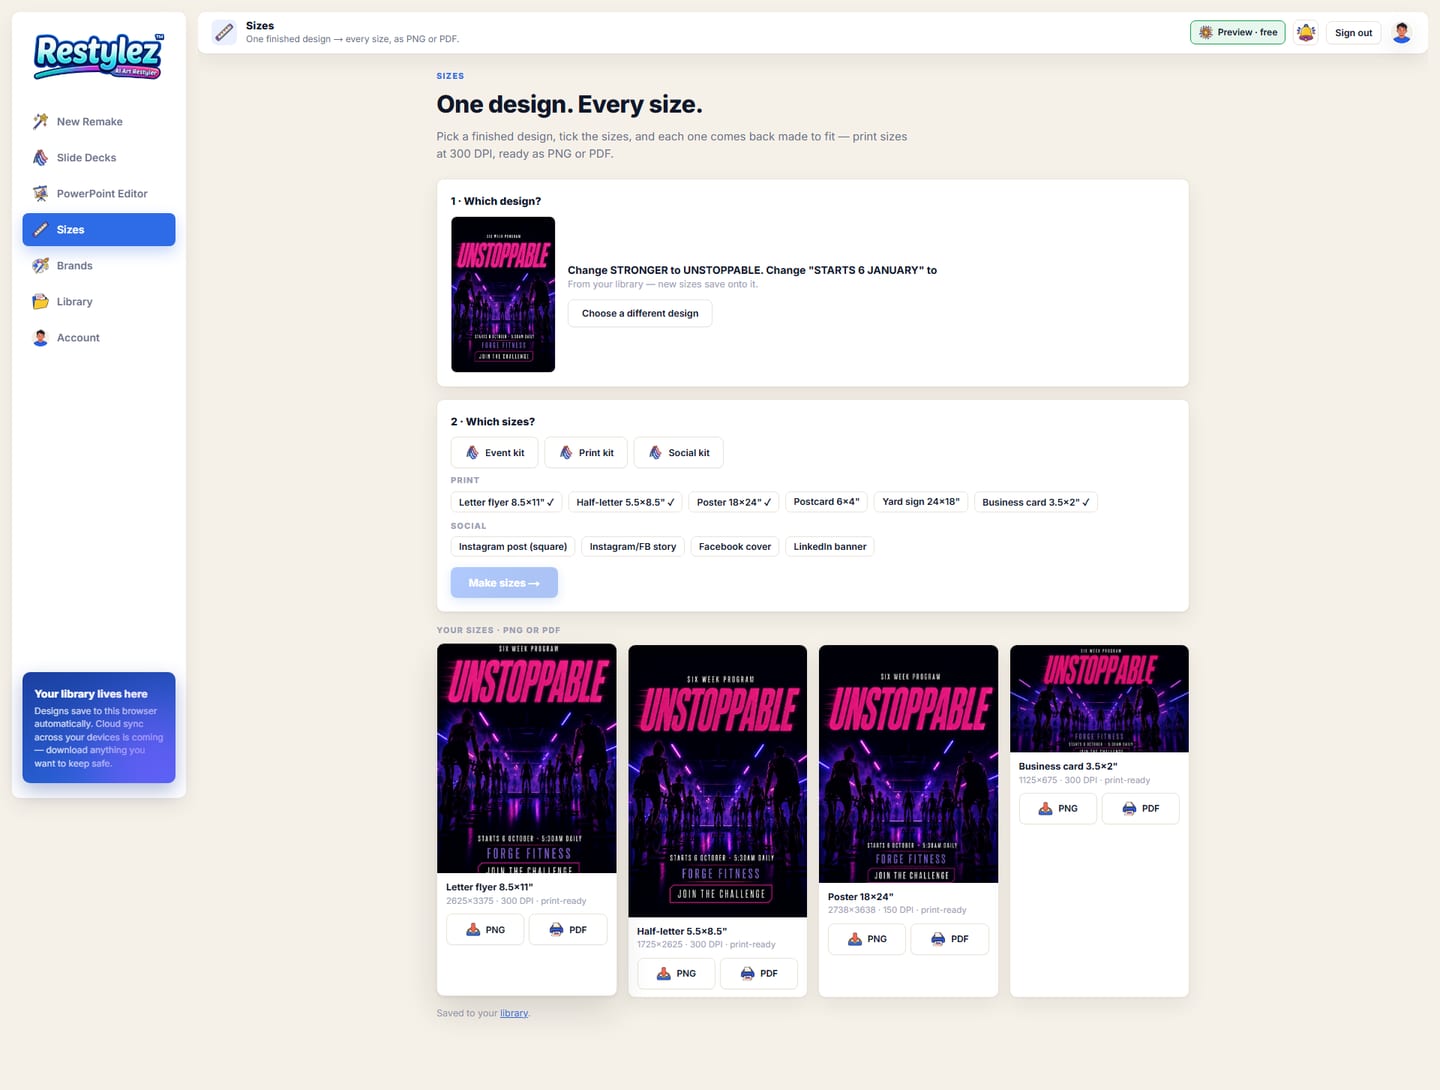
The whole screen · click to open full size 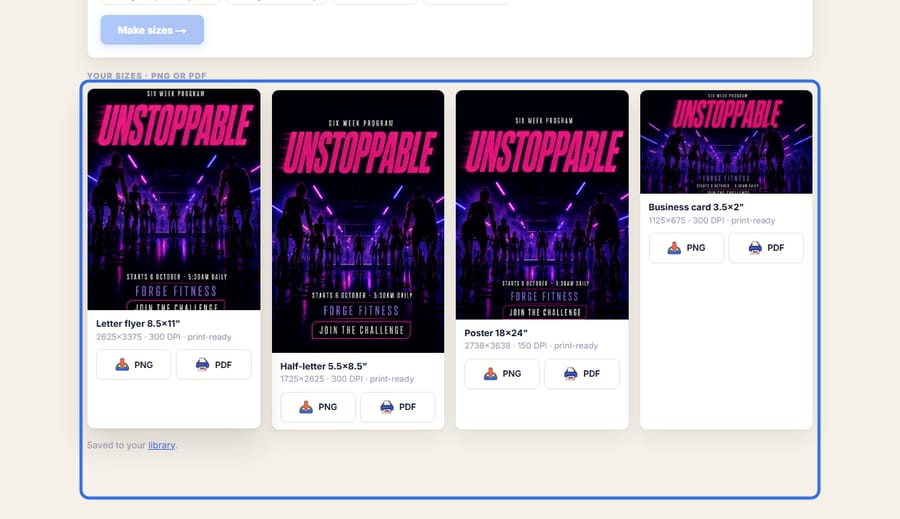
Close-up — the part to look at

- Extra sizes are $3 each after the first.
- If you uploaded the design (rather than picking it from the Library), tick “This design is mine to use” before making sizes.
- Small formats keep the headline and drop the clutter — that is by design. Change the note if you’d rather keep something else.
- Full bleed adds the extra ⅛″ the printer trims away. Leave it on for anything going to print.
- Sizes that already exist on a design show a tick next to their name; making them again replaces them.
The messages the page can show, and what to do.
- “Please confirm the design is yours to use first.”
- Tick the ownership box under the sizes. It only appears for uploads — Library designs were confirmed when they were made.
- “These sizes couldn’t be made (you can try them again): …”
- The named sizes failed while the others finished. Tick just those and press the button again — only finished sizes are charged.
- “Nothing in your library yet — upload a design above, or make one.”
- You have no designs on this device. Upload one, or make one on the New Remake or New Design page first.
- “You’re out of credits. Add some to keep going.”
- Your balance can’t cover this piece. Add credits on the Account page — your work carries on from where you left off. Nothing was charged.